
Anypoint studio authentication on MacOS is not working correctly even if you did everything right? In this article, I will guide you on how to solve this problem.
Anypoint Studio is a powerful tool but sometimes gives several issues that cannot be immediately solved. On MacOS, it might happen that authentication does not work how you expect.
You might have experienced that when you tried to attempt a login via modal window via Preferences → Anypoint Studio → Authentication. Perhaps you did it through the Search in Exchange feature, maybe via Deploy to Cloudhub, or even from the feature which allows you to Download RAML from Design Center.
The outcomes are always the same: the pop-up window appears, you log into your account, the pop-up closes, and… Nothing has changed.
But here I am to help you! My name is Lorenzo Neri, a Cap4 Lab integration engineer. Several times during my working time, I met many different problems I tried to solve, then afterward, a question came to my mind: “What if I bring help to other people to solve my same problem?”.
Let’s get started.
Anypoint Studio: how to let authentication work correctly on MacOS
Anypoint Studio offers authentication in four main ways: via preferences, search in Exchange, Deploy to Cloudhub, and Download RAML from Design Center.
These features share a shared pattern: storing your credentials and letting your account be saved in the Studio to avoid repeating the login experience. Your credentials will be held in the Default Secure Storage when you successfully authenticate.
Sometimes it does not work as expected, and it won’t save your credentials.
The first step we have to do to solve the authentication problem in Anypoint studio is clicking on “Preferences”, and a dialog window appears.
Then, click on “Security” and open the dropdown related: “Secure Storage” option appears. Click another time to see the “Secure storage” section.
Like so:
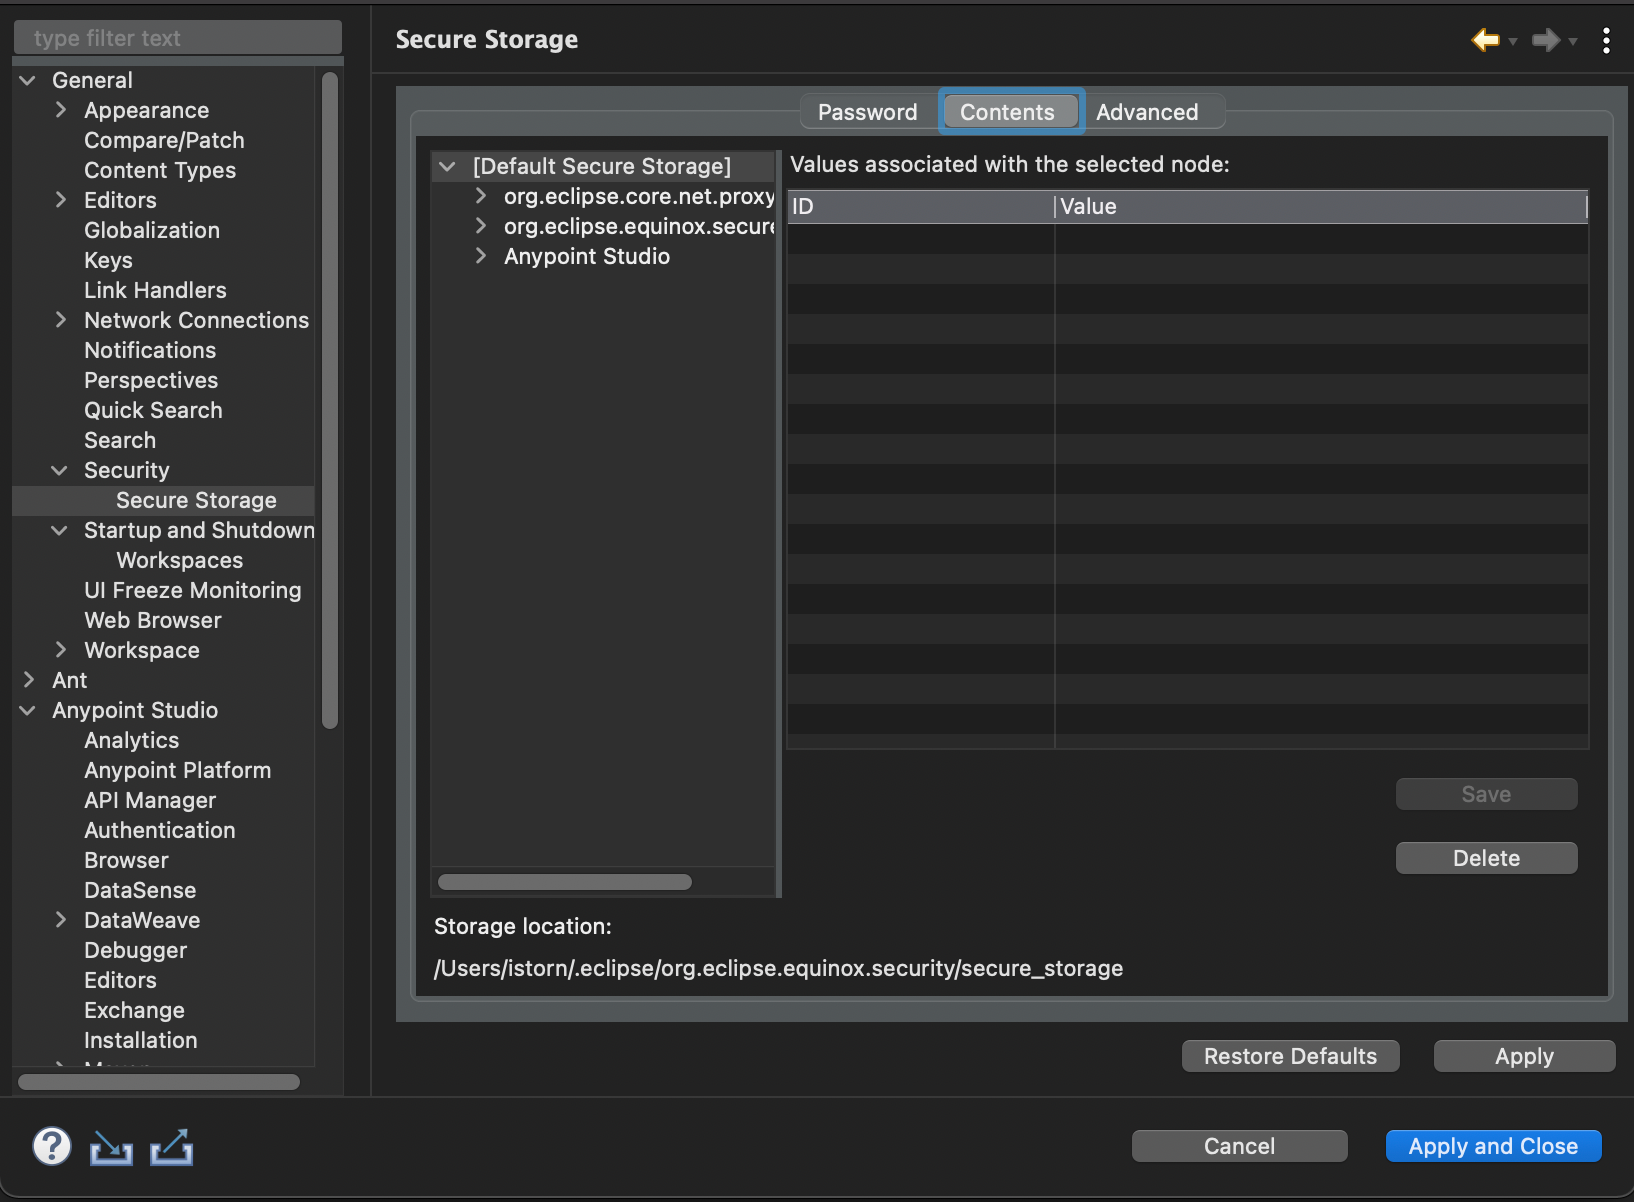

Here comes the second step: clicking on the section “Contents” to let you see a list containing the Default Secure Storage.
Click on the “Delete” button: two pop-up windows will appear asking you to confirm the deletion and the application reboot. Click “Yes” on both buttons to proceed.
How to finally authenticate properly on Anypoint studio MacOS
Once you deleted the Default Secure Storage, you could open Anypoint studio once again, and via Preferences, write “auth” into the text search field like so:
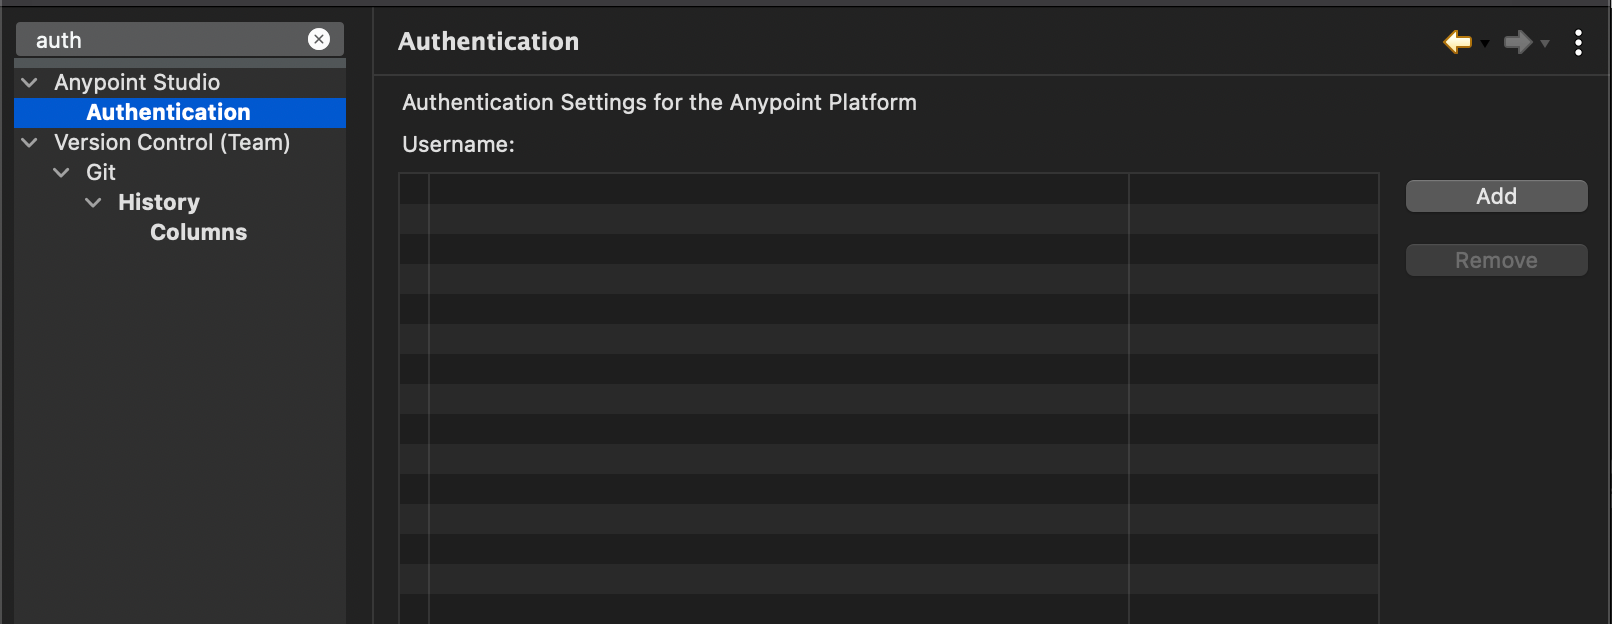
Finally, it’s time to add your credentials!
Click on the “Add” button and proceed to log in via the Anypoint Platform login form.
If you put in the proper credentials this time, you’ll be successful.
How can you be sure? Once you confirm the login, a pop-up window appears like this:
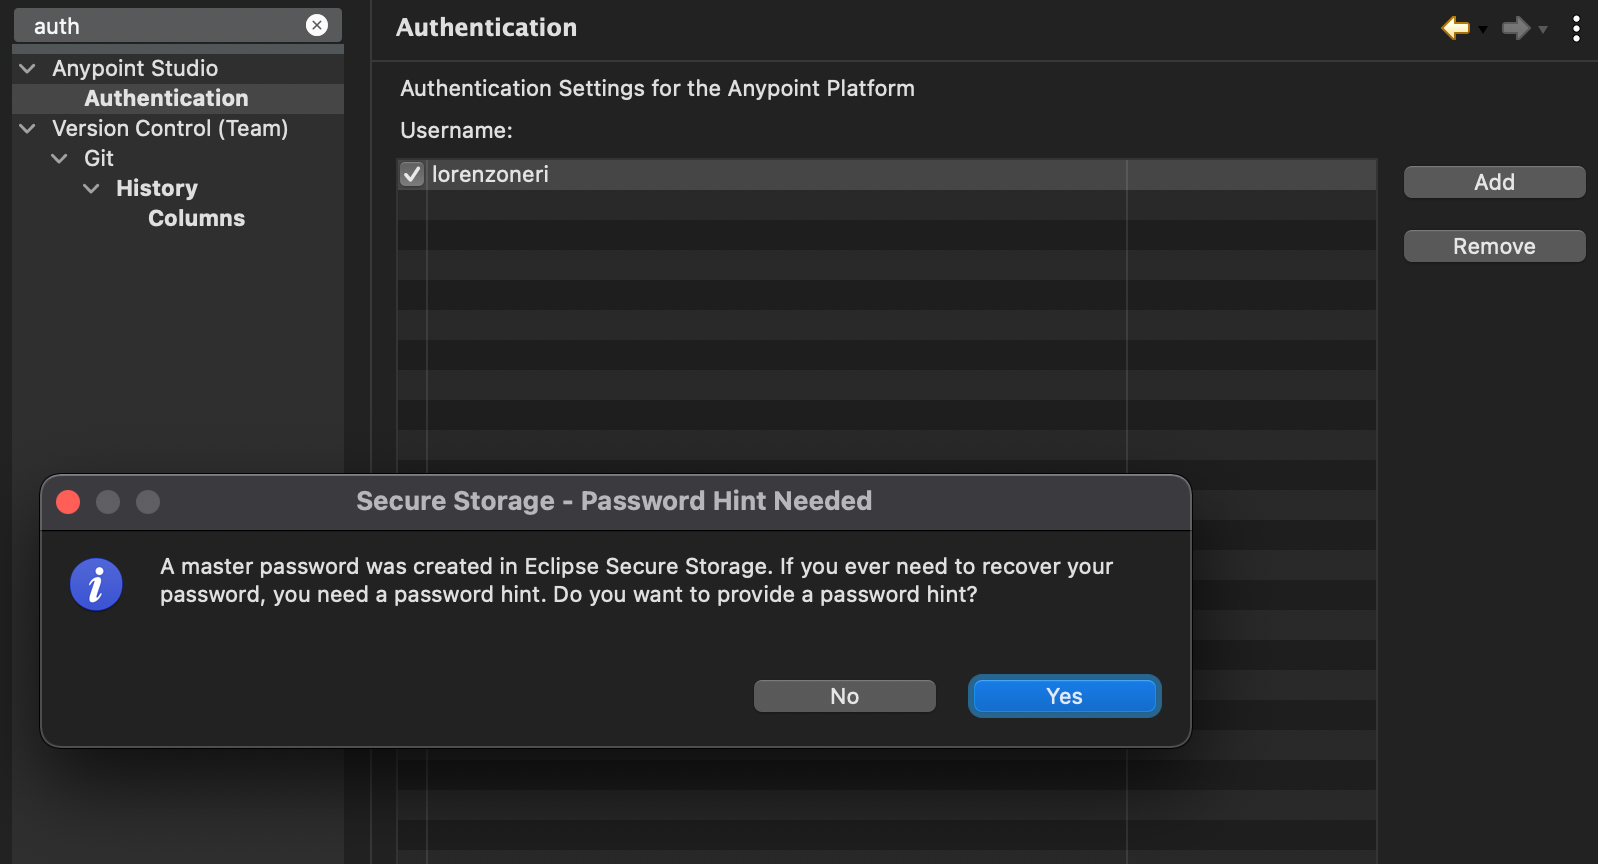
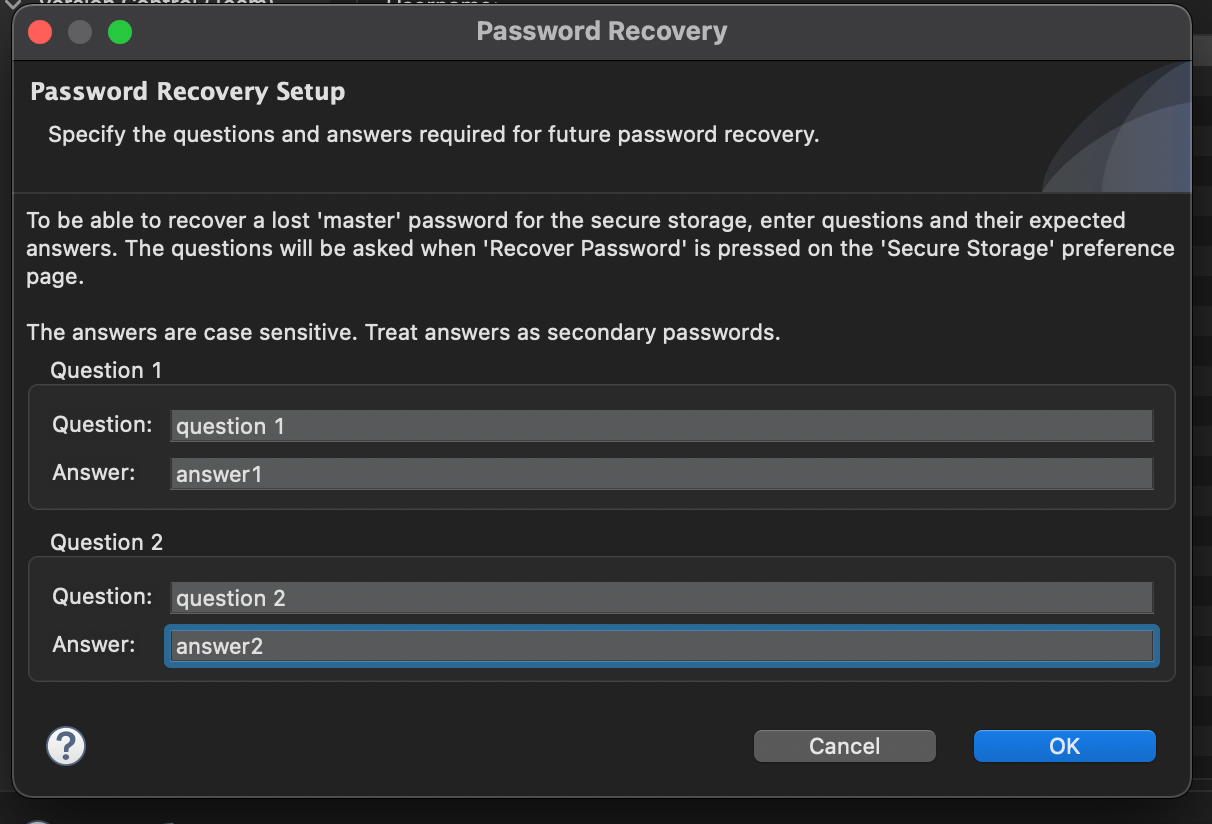
The next step is clicking the “Yes” button, setting up the Password Recovery Setup:
To conclude, you should see your account’s Username in the list:
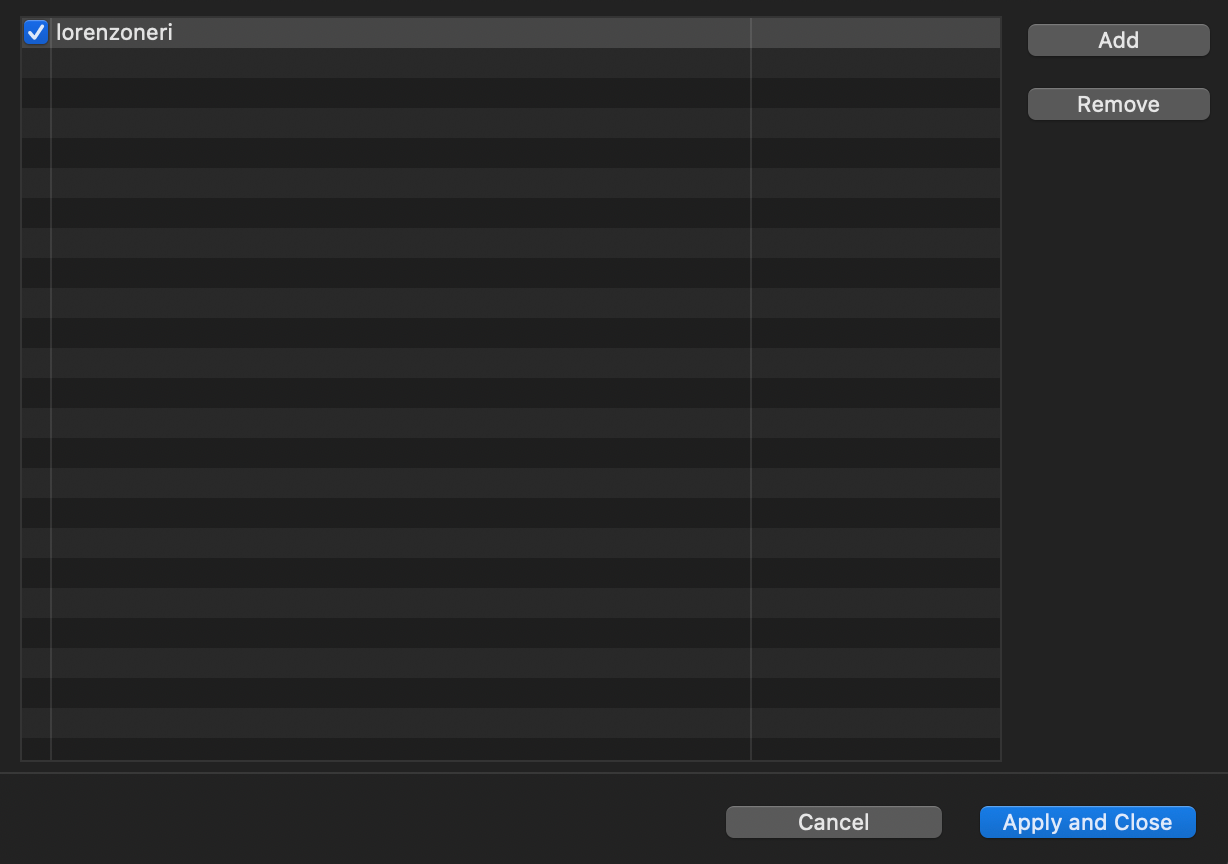
The final step is to “Apply and Close” to be finally able to do all of the operations you were willing to do via Anypoint Studio!
So here it’s how to solve the authentication not working on Anypoint Studio for MacOS, but there’s an additional point, to be honest with you.
Authentication is not working on other Anypoint Studio workspaces
The solution shown before will work only with the selected workspace: if you get stuck into the same problem with another project, you have to repeat the process for that project’s workspace because each workspace has its Default Secure Storage.